HOW TO MAKE A FUN CUSTOM OUTDOOR TEXTURED RUG
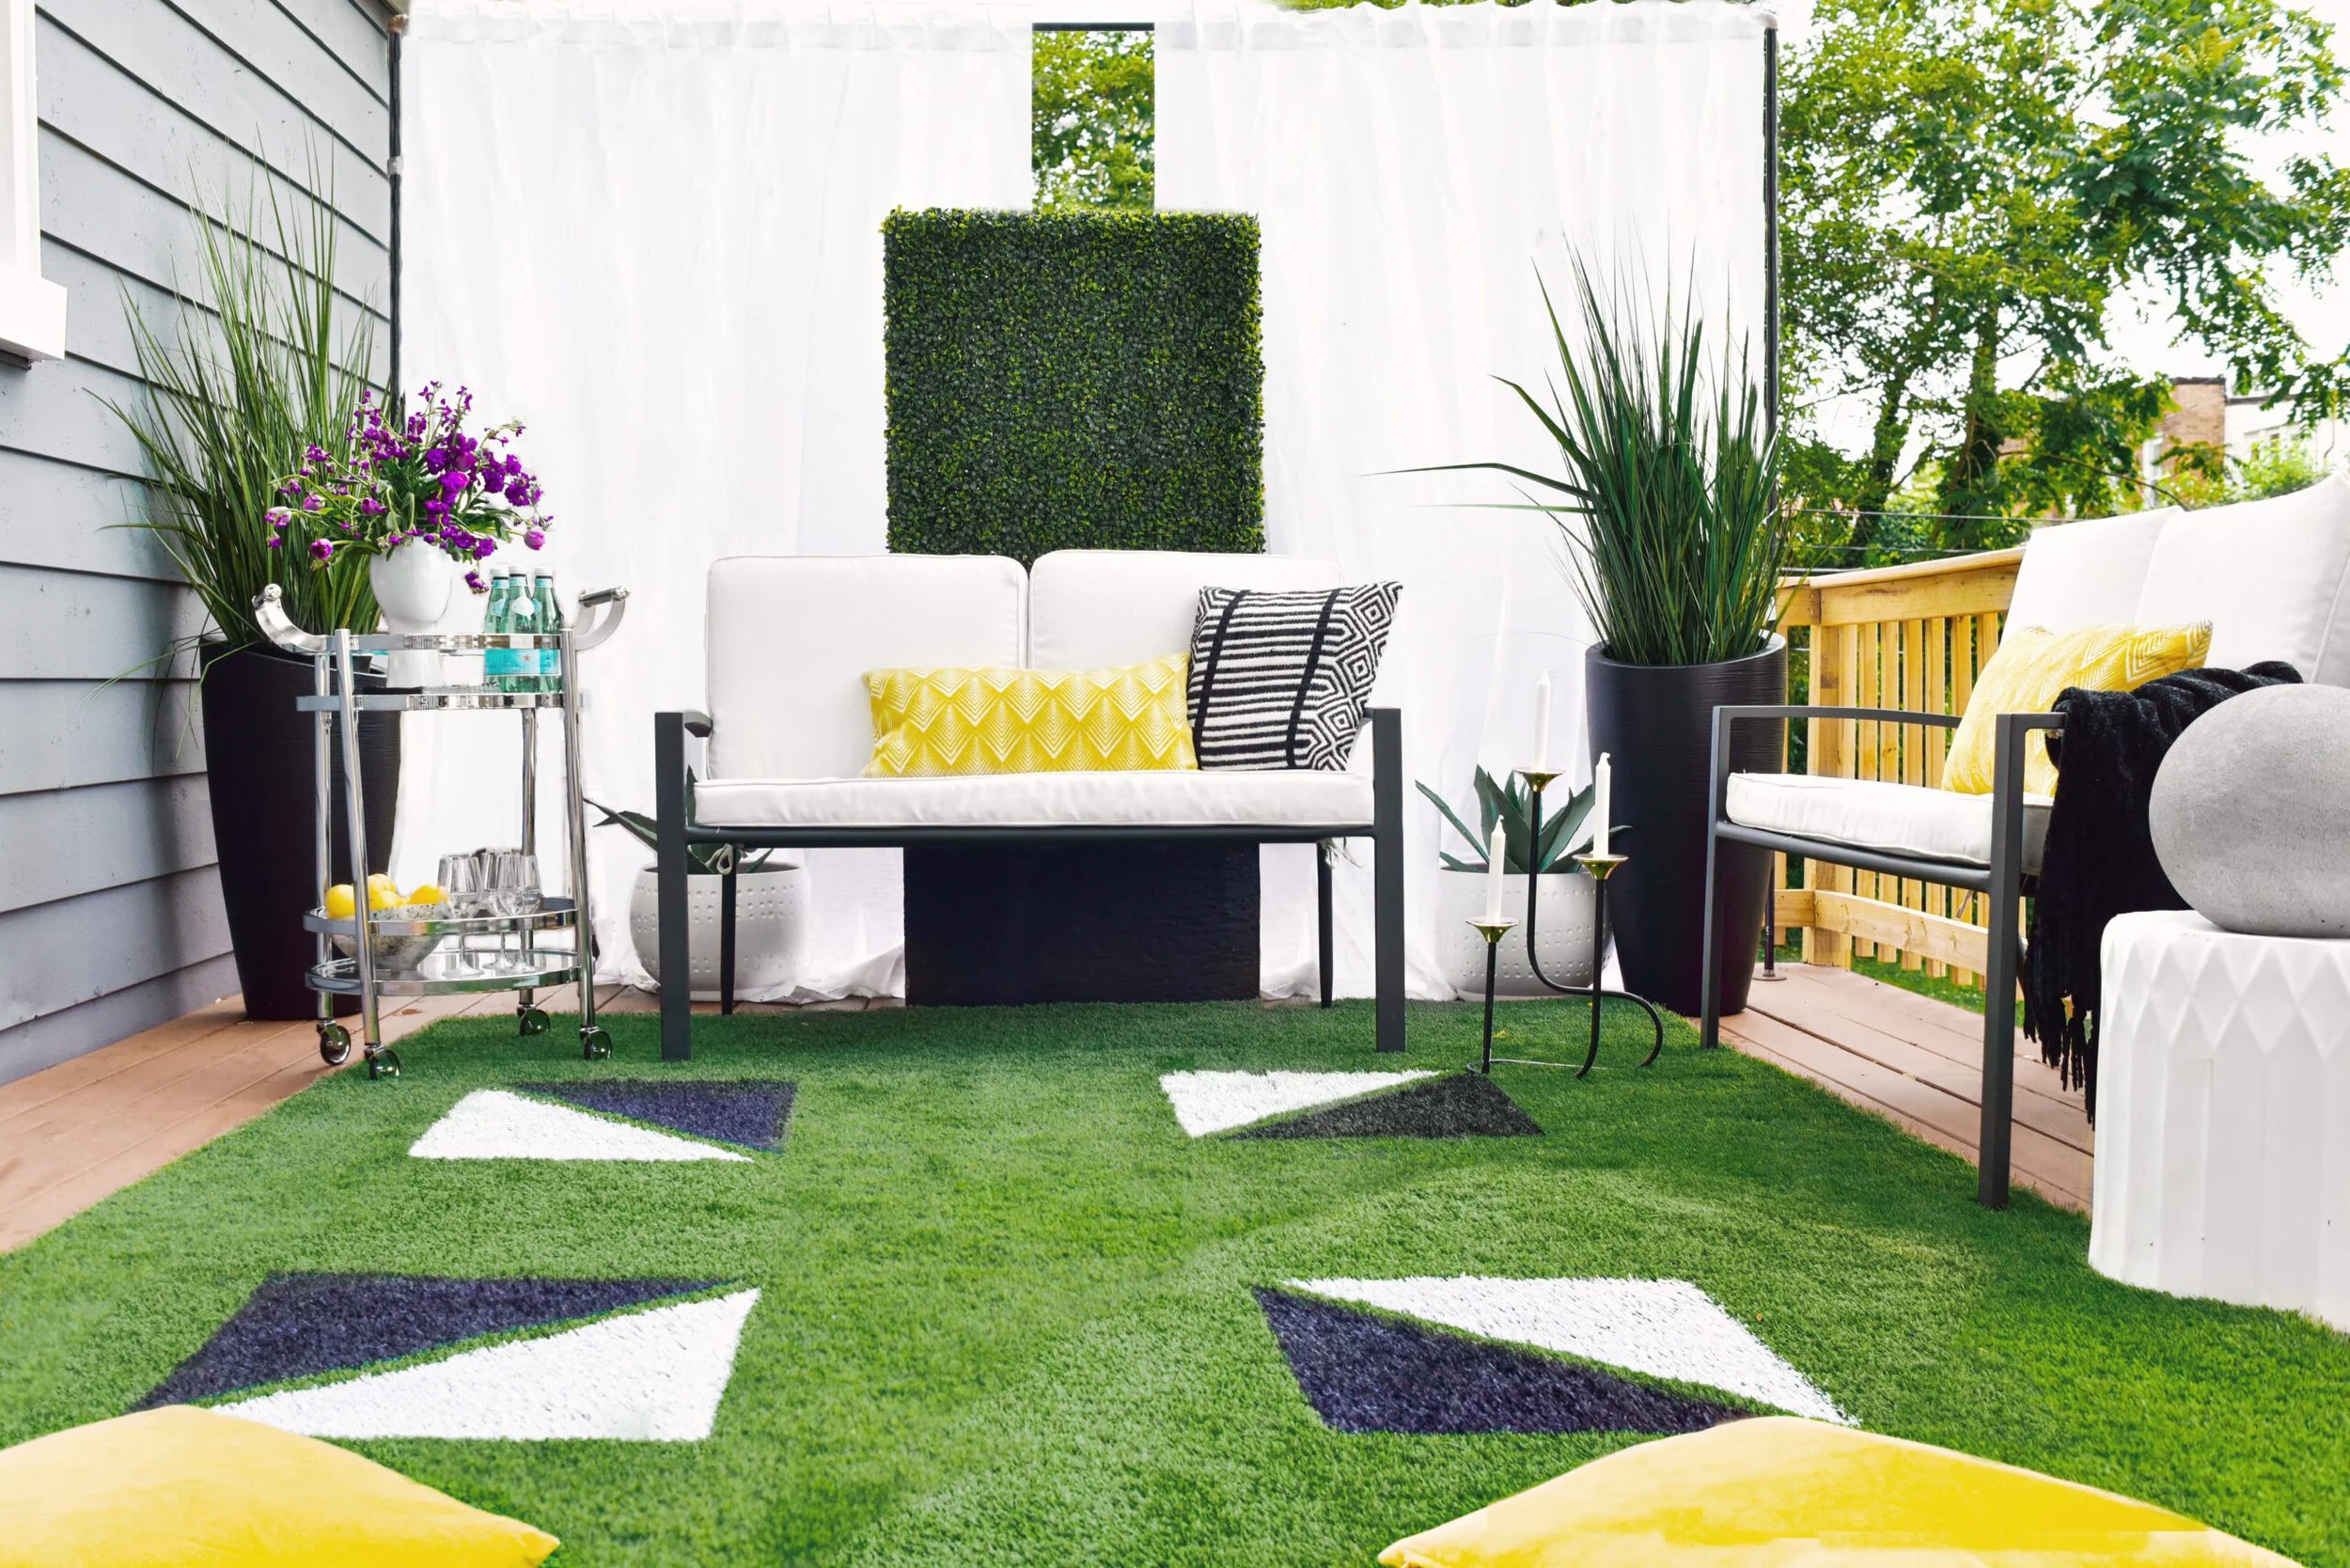
Now more than ever, having an outdoor space (whether it’s a back deck, rooftop, patio or balcony) is a hot commodity. In my last post, I shared the amazing opportunity I had to join 14 other designer/bloggers in the annual FrogTapeChallenge. As part of the challenge, I revamped my lackluster back deck, transforming it into a private oasis. A key element in the transformation was the custom Turf rug I created using paint and FrogTape. You can check out the reveal of the space here.
In today’s post I’ll share how I created the outdoor rug that serves as the foundation of this gorgeous new space. Let’s get started!
STEP 1:
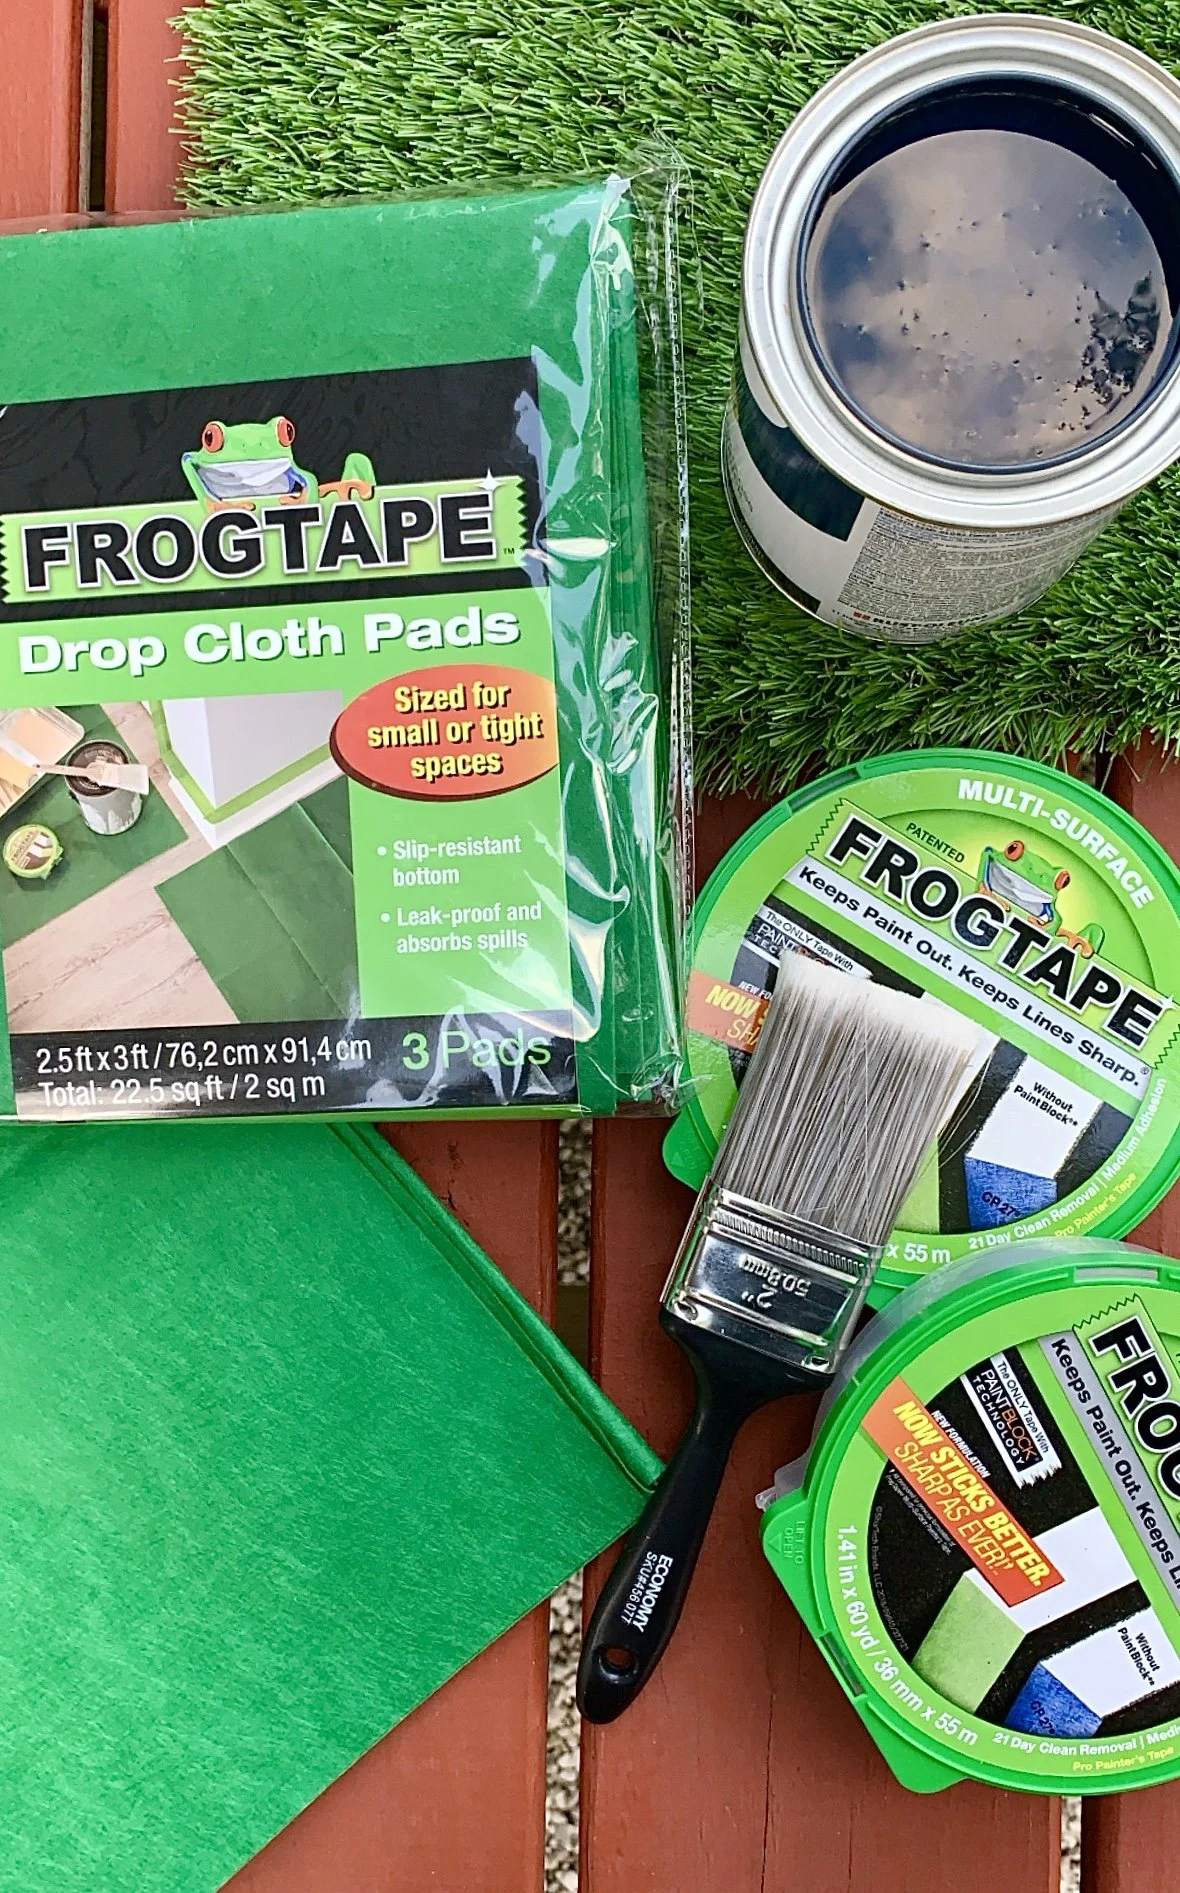
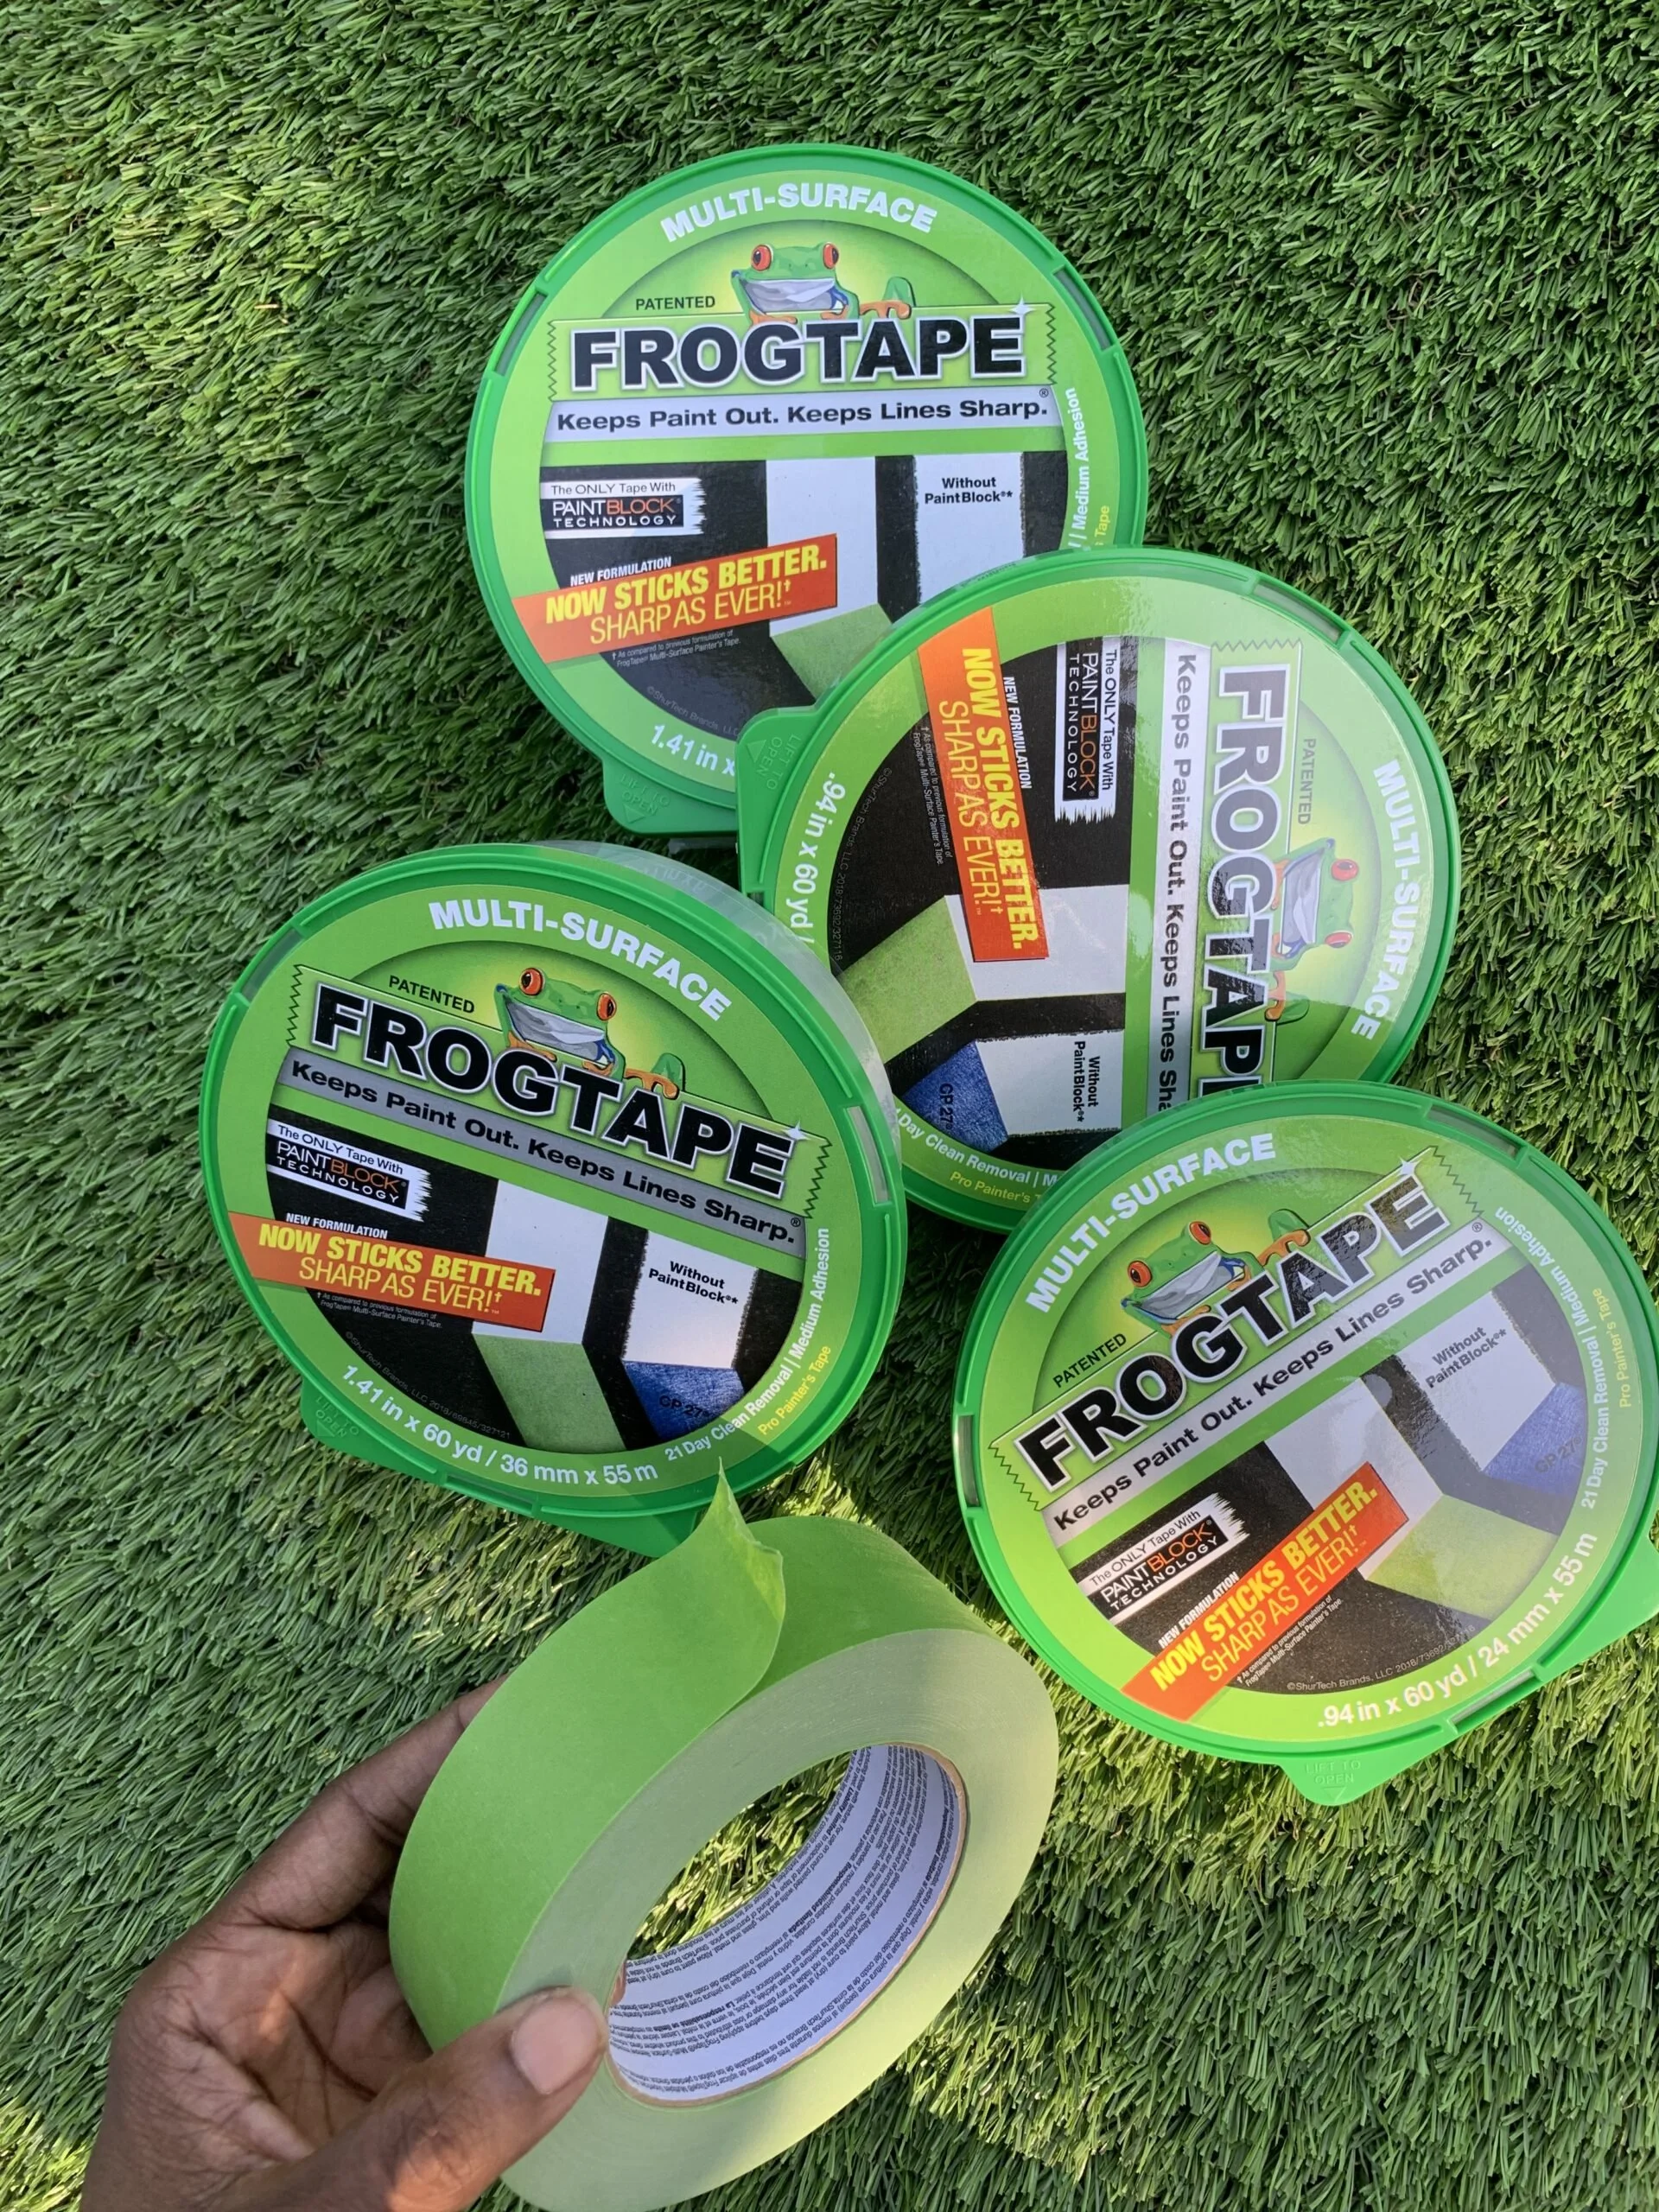
Gather your supplies. You’ll need Frog Tape Multi Surface tape, a tape measure, chalk, level, paint brush, Frog Tape Drop Cloth Pads and indoor/outdoor semi-gloss paint in contrasting colors (I chose black and white).
STEP 2:
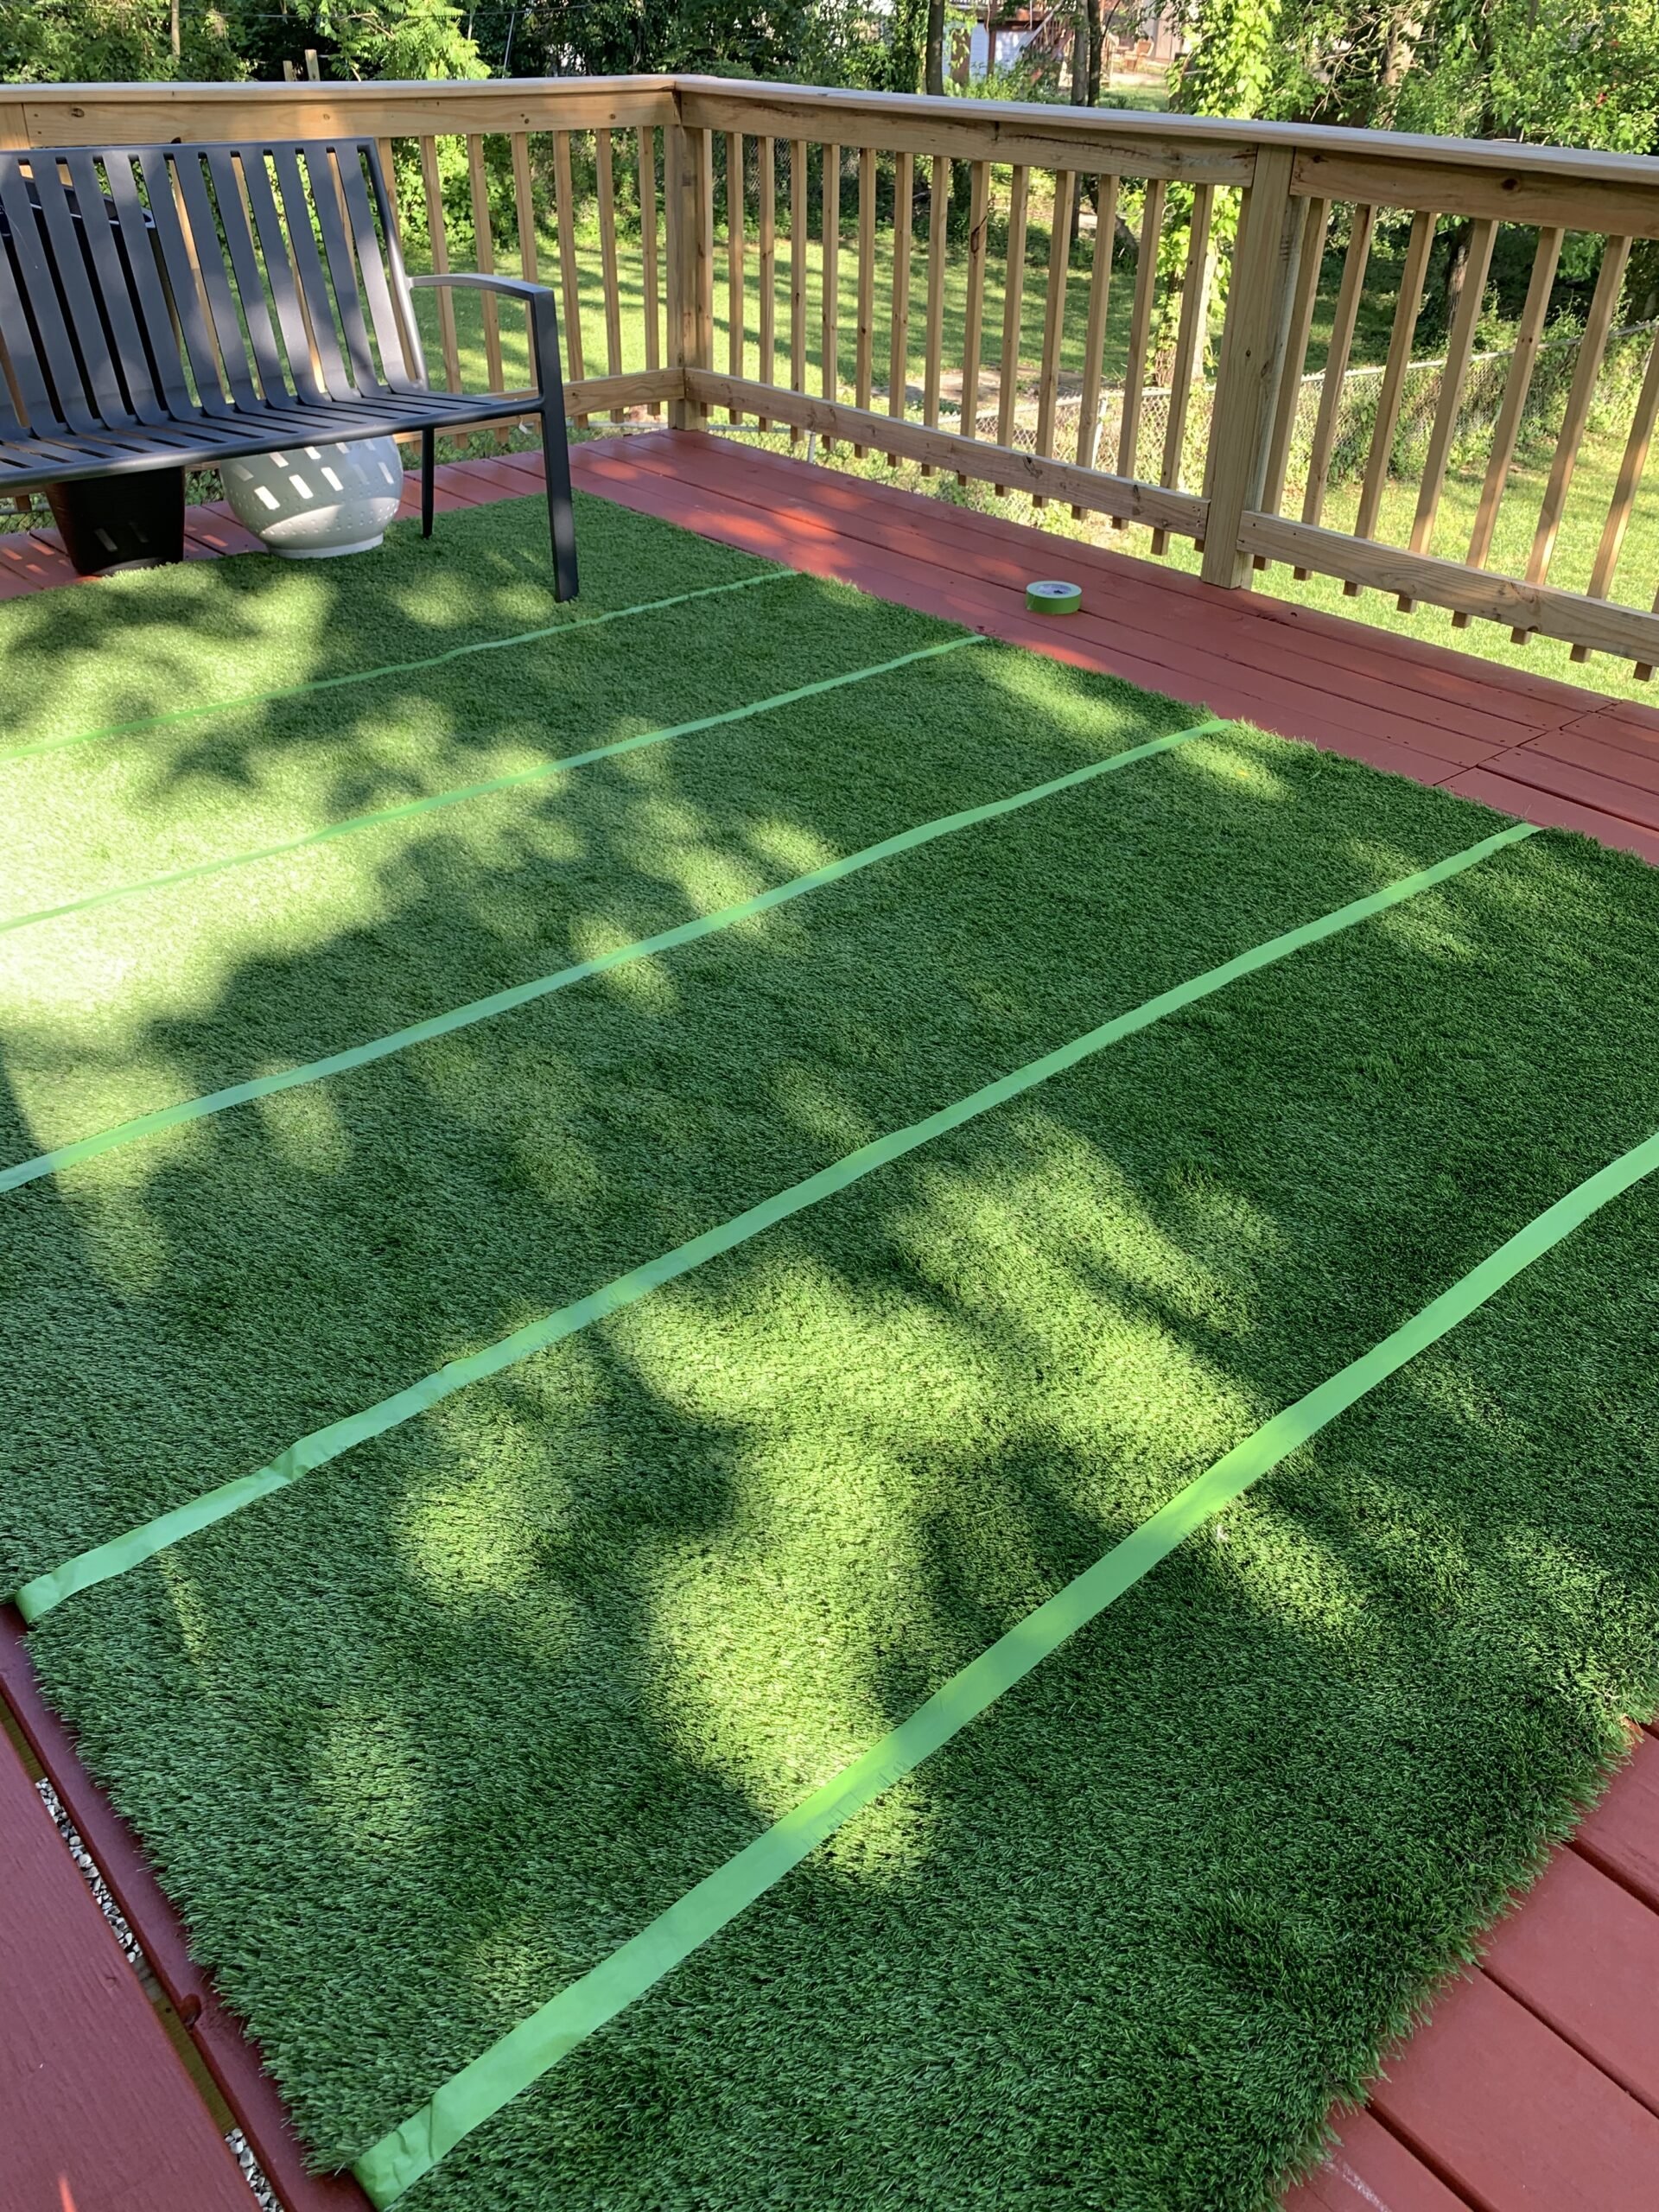
Make a small mark on your rug every 15 inches with chalk. Using this mark, your level and a straight edge, apply the frog tape horizontally across the rug at the 15 inch intervals. Double check to make sure the tape lines are evenly spaces apart.
STEP 3:
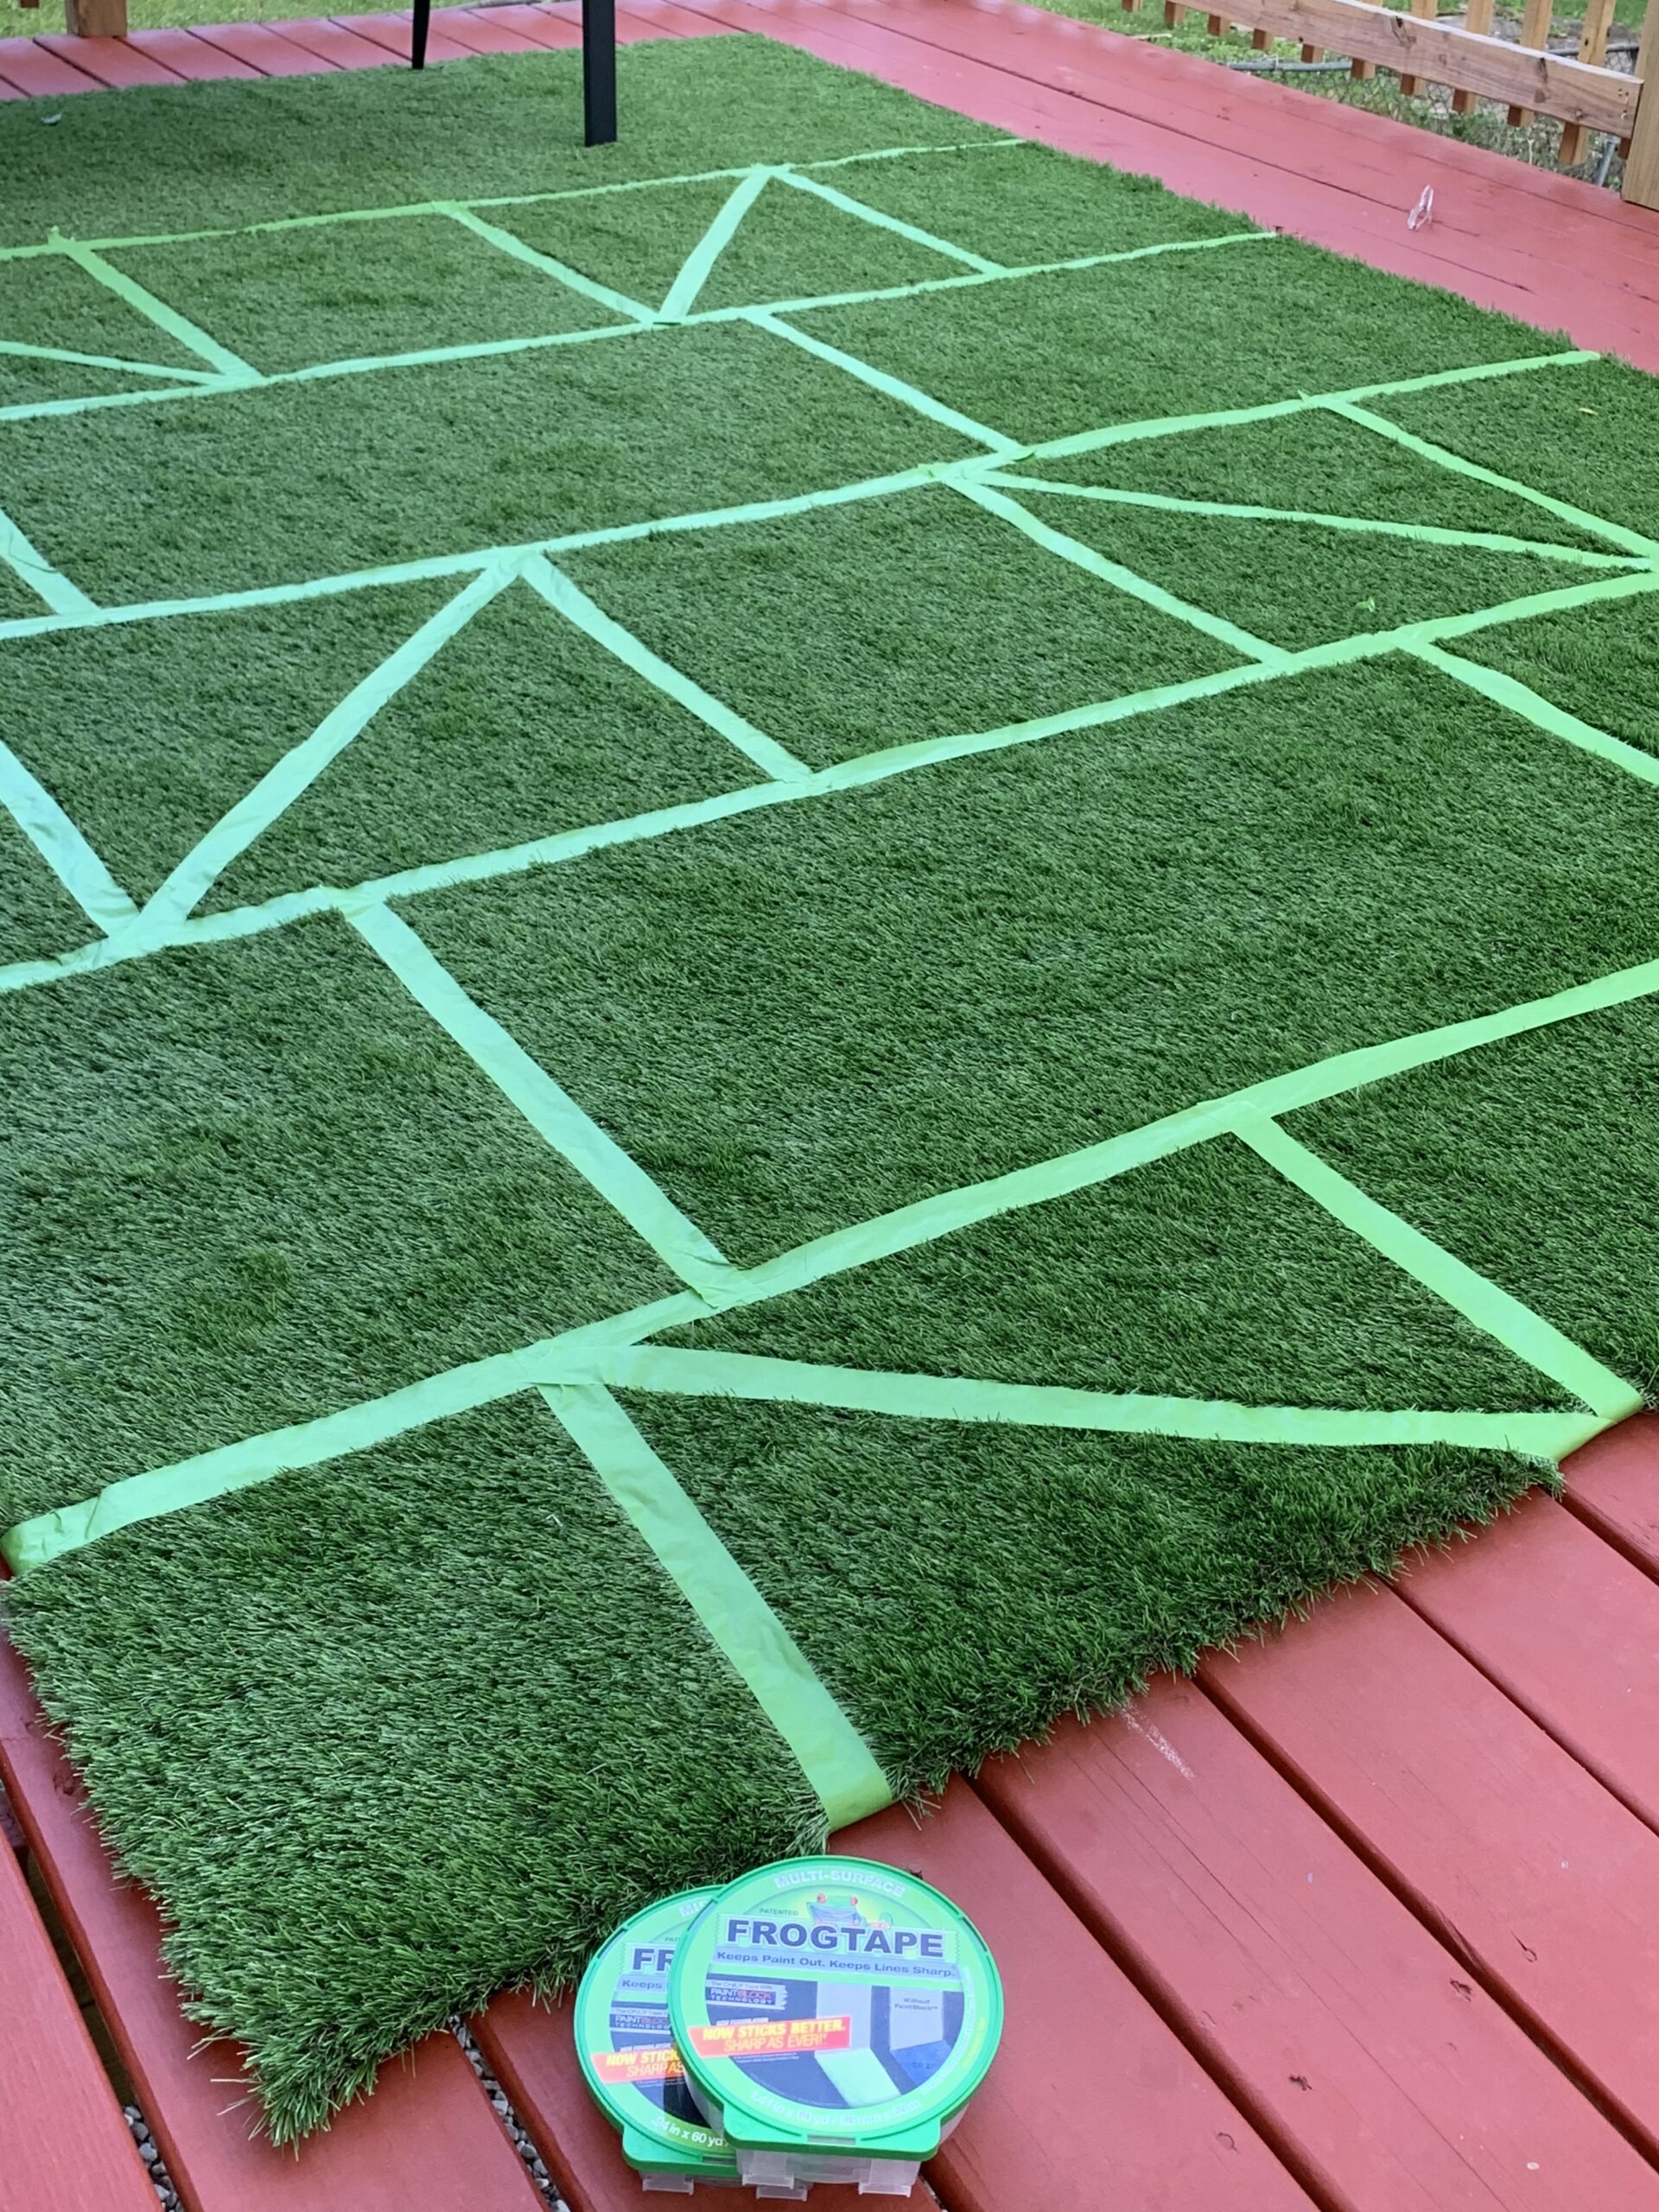
Cut 15 inch strips of Frog Tape and apply them vertically (spaced 20 inches apart) between the horizontal taped lines to create squares. Use your level to make sure your tape lines are straight.
STEP 4:
To create the triangle shapes you see in the final look, apply another strip of tape at a 65 degree angle in each of the square areas created, dividing the square in half. Reposition the tape as needed. Repeat these steps for each set of triangles you want to create. Step back as you go along to make sure that the overall composition and placement of the squares is to your liking. Once you’re happy with the placement, you’re ready to move on to painting.
STEP 5:
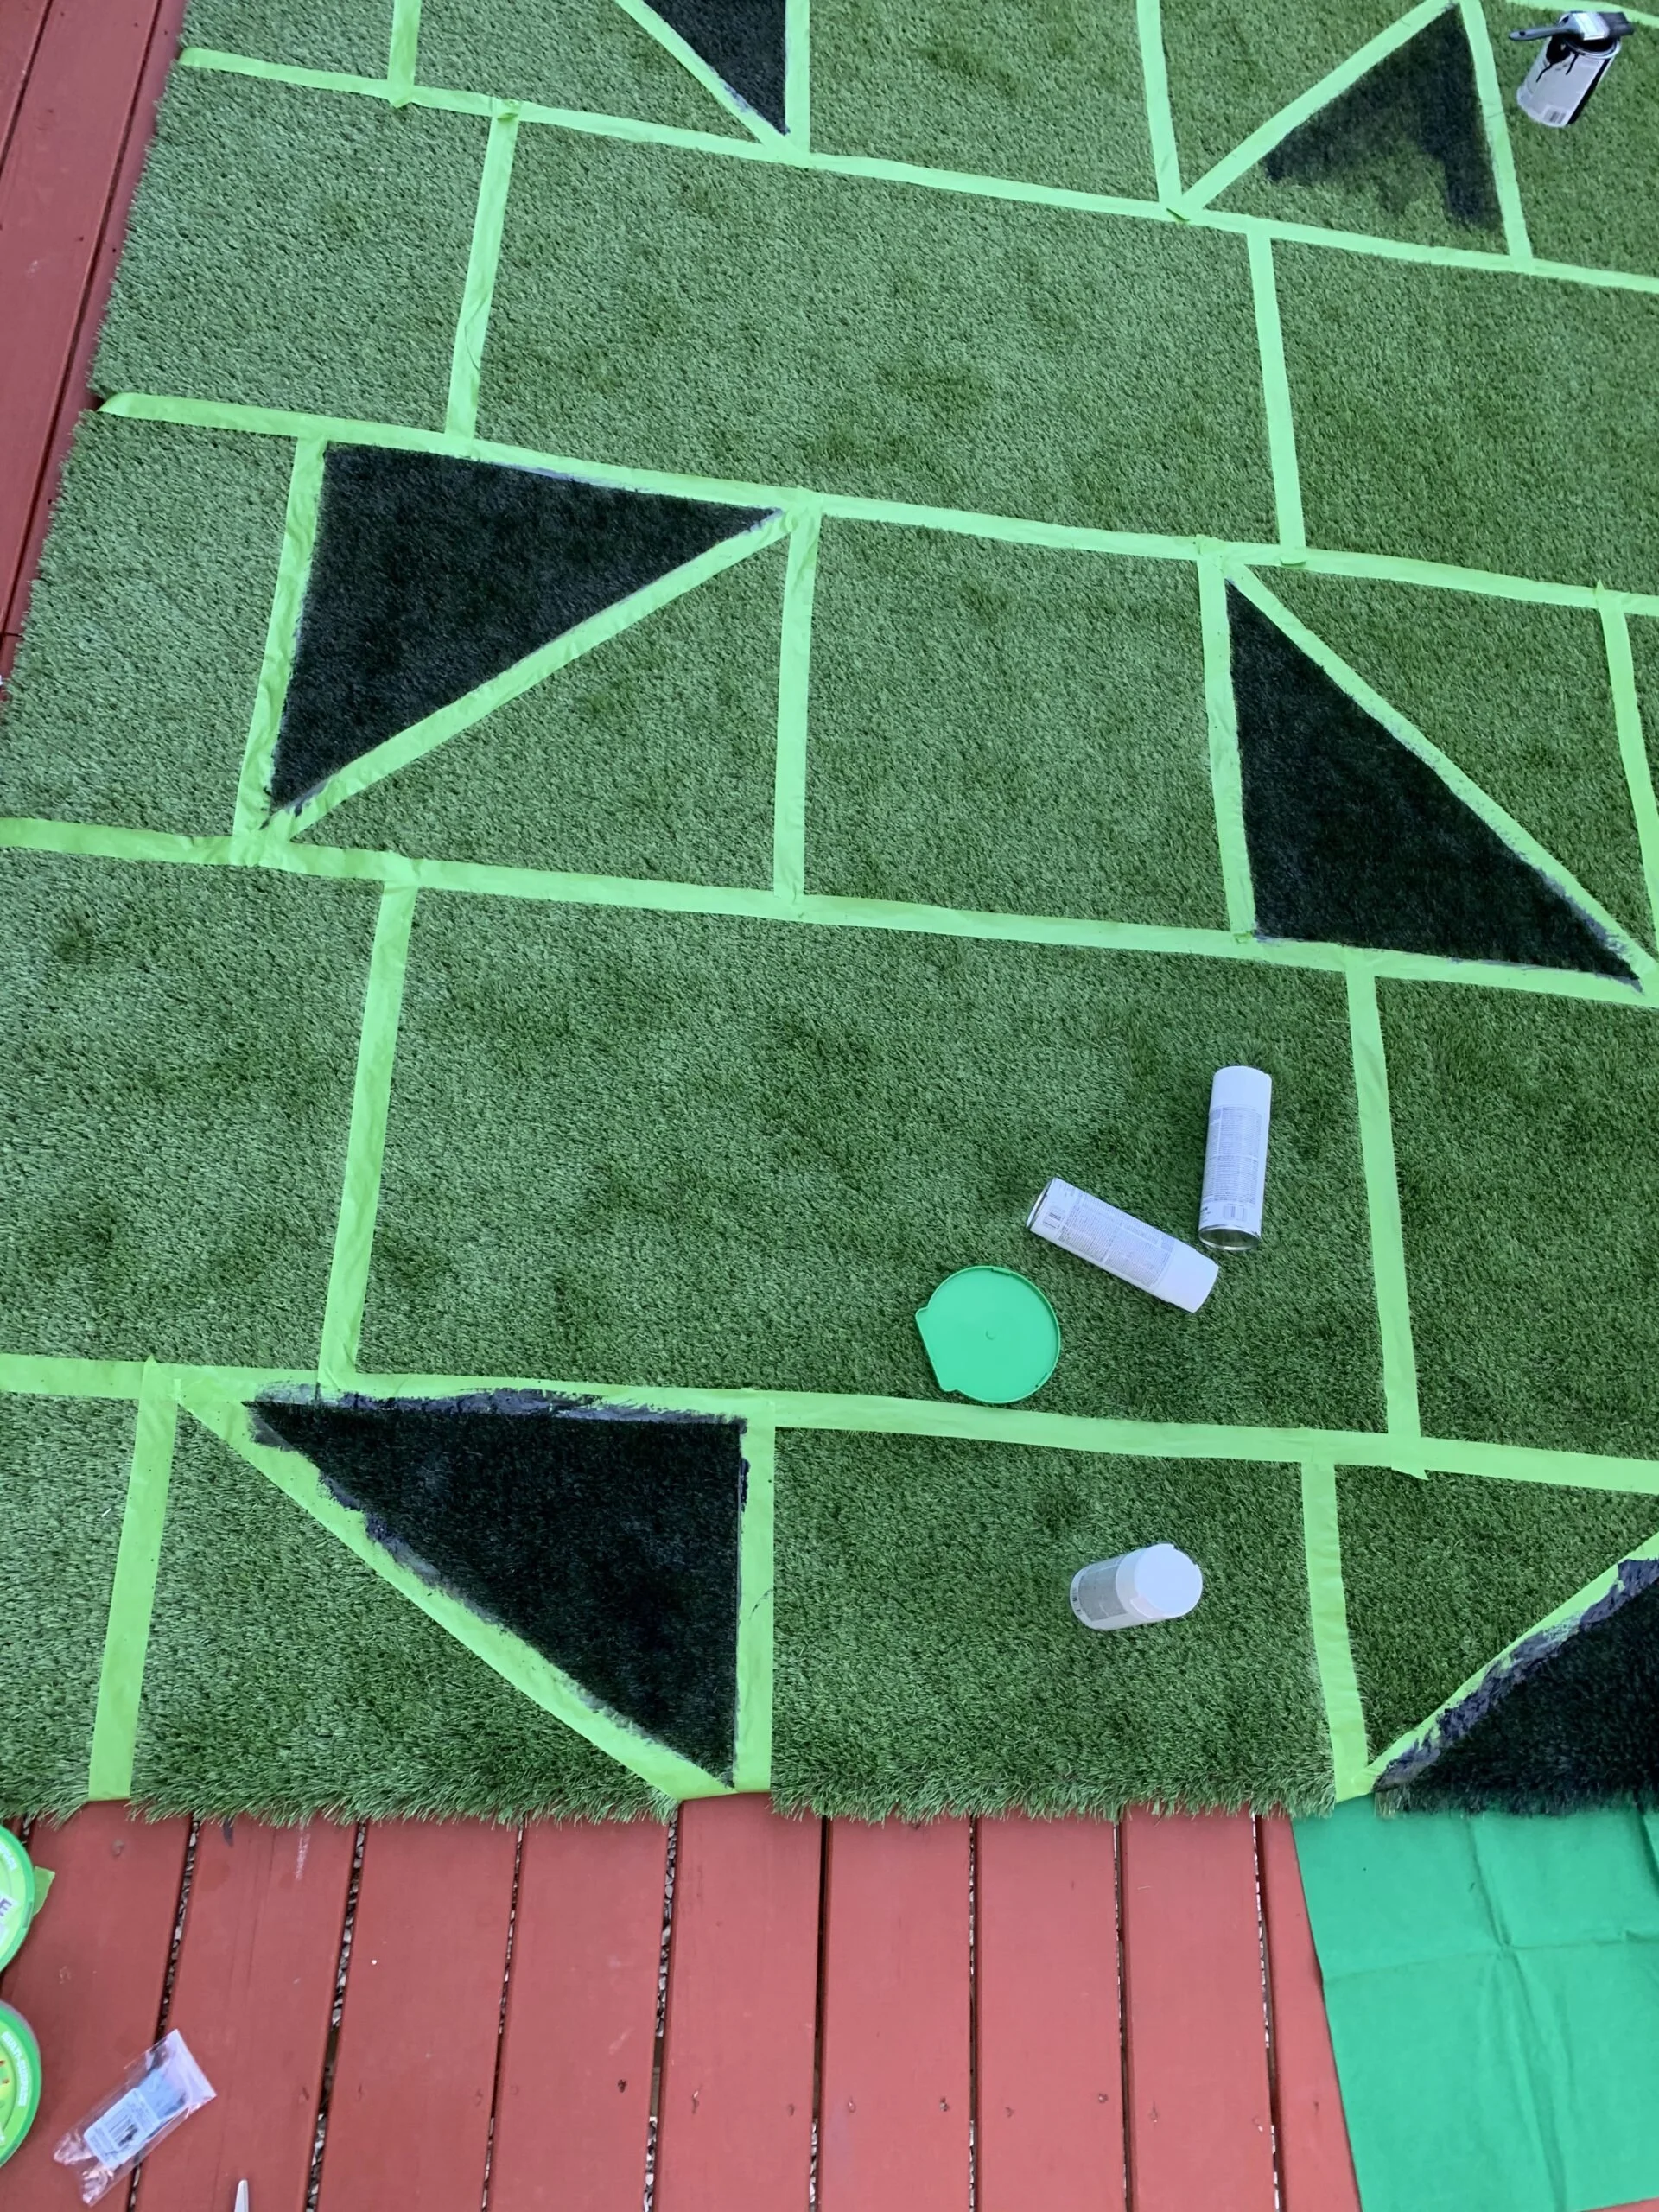
Using minimal paint on your brush, begin painting each square by running the paint brush along the inner edge of the tape. This will help leave a crisp line on the exterior of your triangles one the tape is removed.
STEP 6:
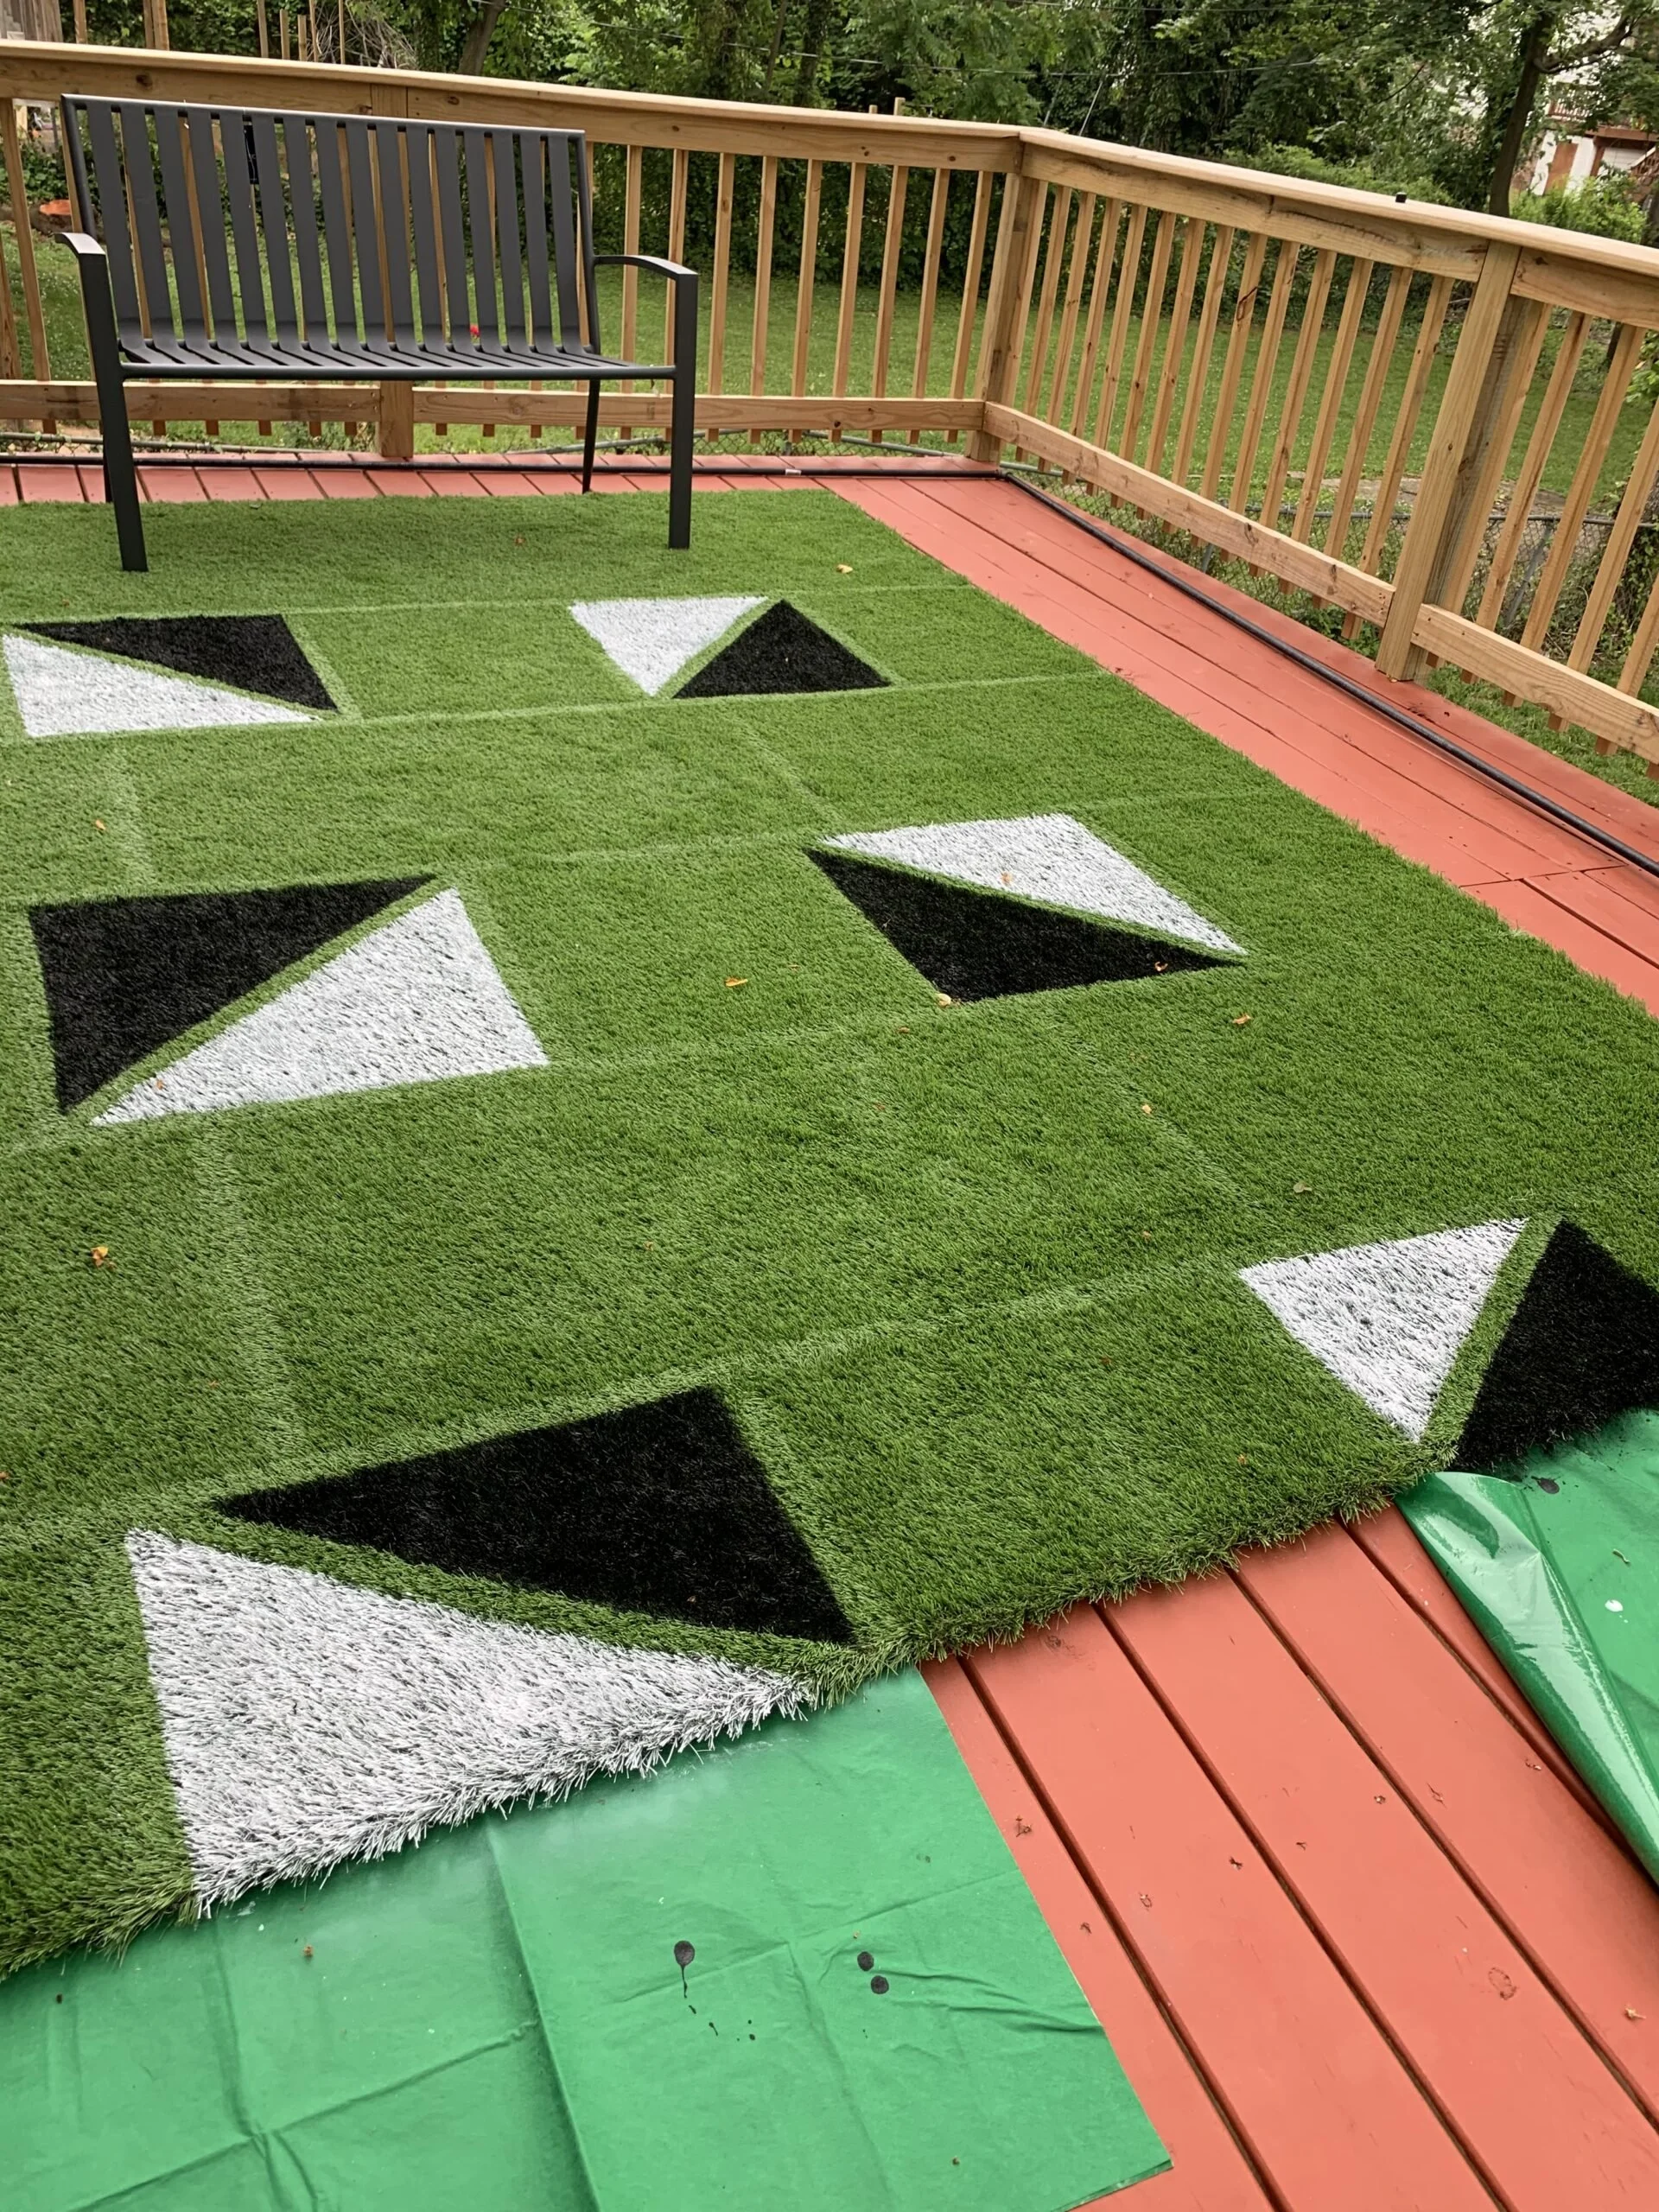
After you’ve painted the perimeter of the triangle, fill in the remaining area of the triangle using your paintbrush and paint. To achieve the contrasting triangles, I painted one side of the square black and the other half of the square white. Repeat these steps for each set of taped off squares. Recoat as necessary.

STEP 7:
Remove the tape once the last coat has been applied. Removing tape and revealing those crisp lines is the most fun and gratifying part of every paint project. It’s that moment when your vision becomes a reality.

Step 8:
Kick off your shoes and enjoy your new custom rug!
* This post is in partnership with FrogTape